



Unpacking & Arranging Your Artificial Plant 🌿
Edited by Florona Team
Styling Guide · 2026

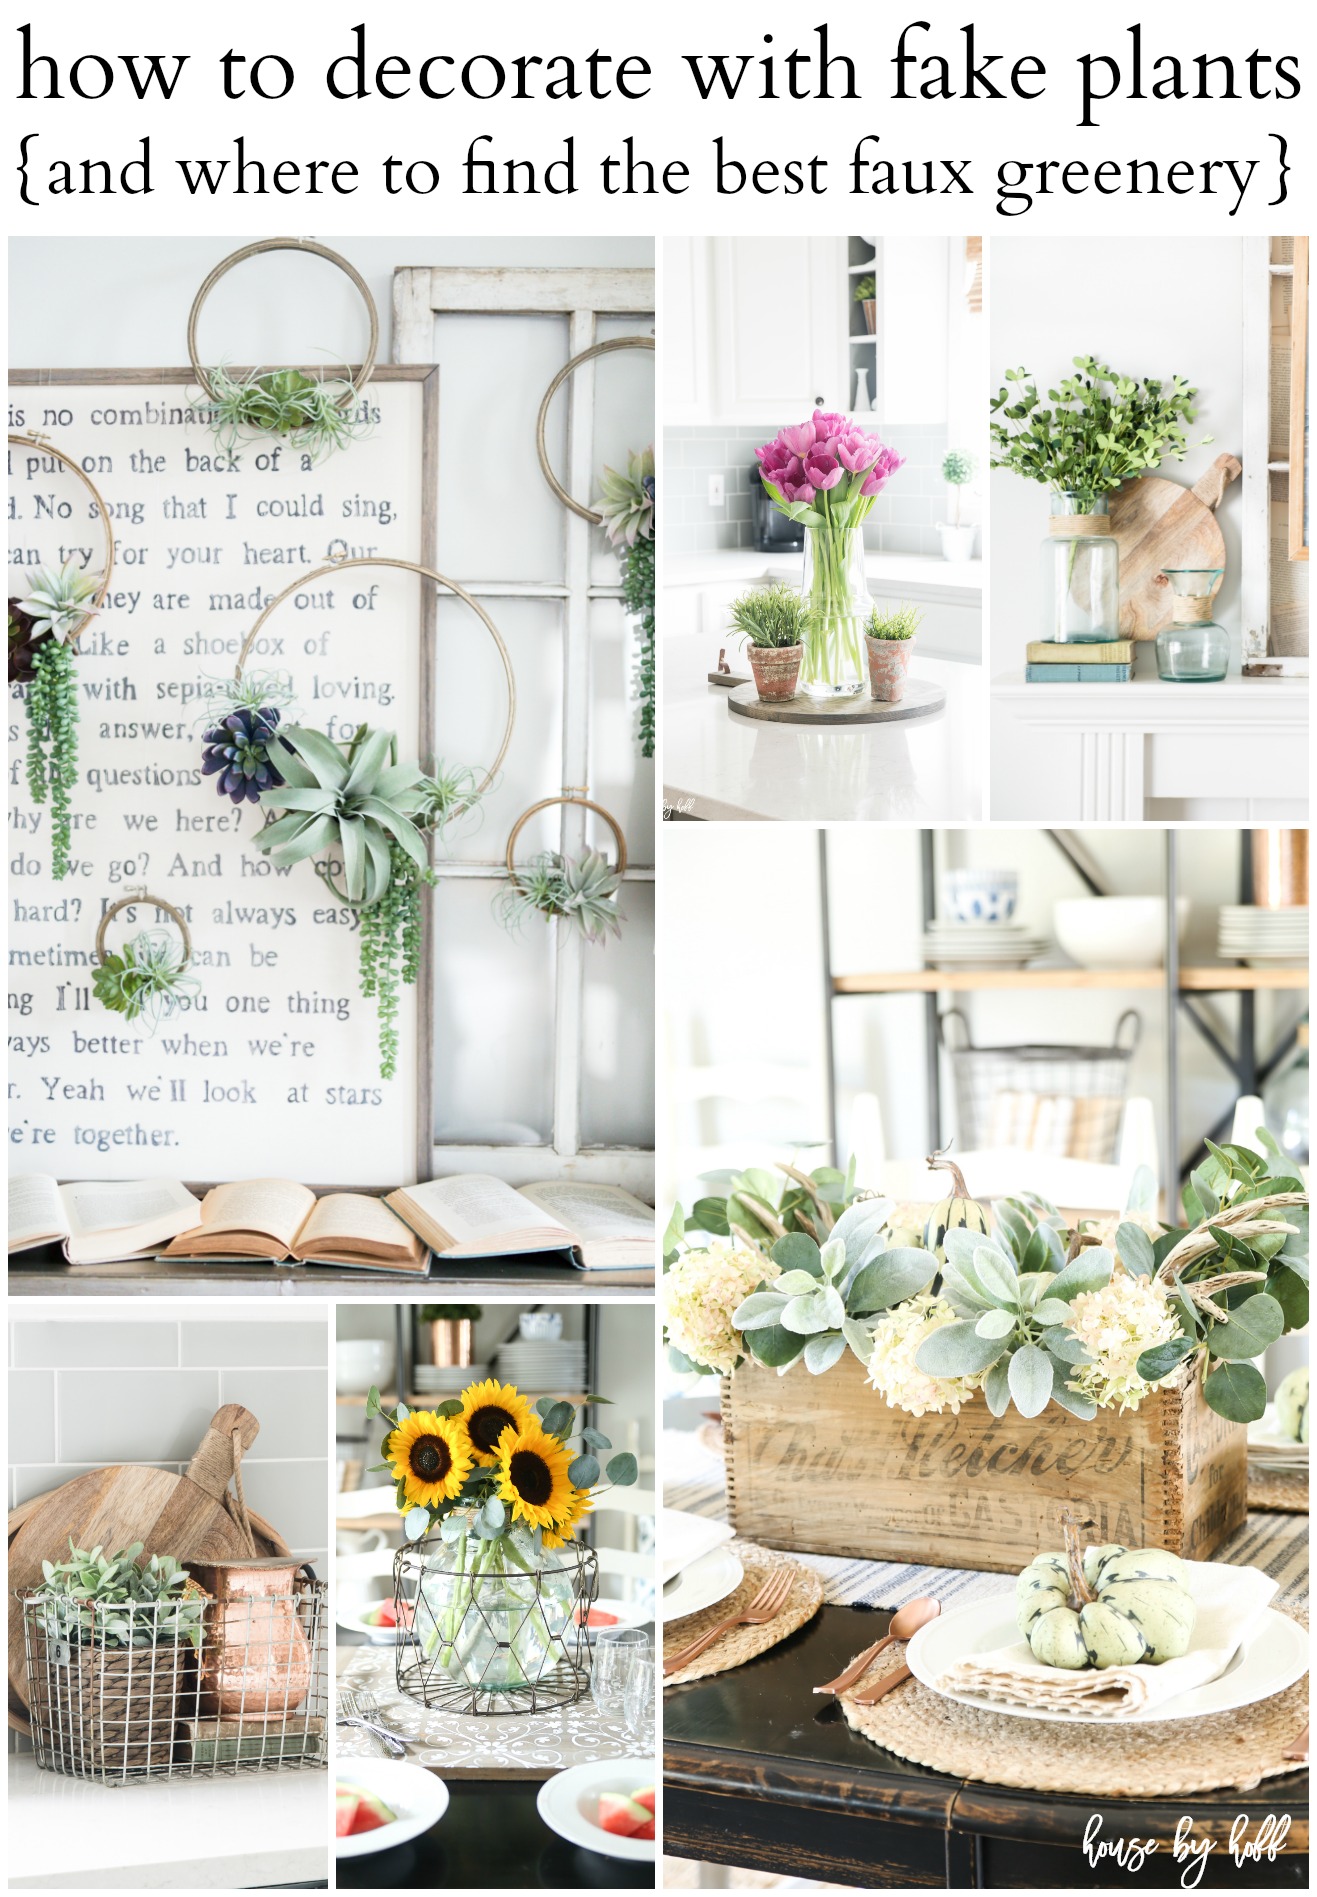

Bringing artificial greenery into your home is one of the easiest ways to elevate a space instantly. But to achieve that nearly natural look, proper unpacking and styling makes all the difference.
Whether you’ve chosen a sculptural topiary, a tropical palm, or a lush faux fern, this simple guide will help you shape, arrange, and display your artificial plant so it looks beautifully lifelike from every angle.
Step 1: Unpack & Let Your Plant Stand Upright
Carefully open the box and remove all protective wrapping. Artificial plants are packed snugly for safe shipping, so don’t worry if the foliage looks compressed at first.
Place your plant upright on the floor or a table and allow the branches to relax naturally before styling. Most artificial plants arrive in a starter pot, designed to be placed inside a decorative planter later for a more finished look.
Step 2: Gently Bend & Separate Branches
Start at the bottom of the plant and slowly bend each branch outward. Inside every branch is a flexible wire, allowing you to shape it naturally.
Work gradually and avoid pulling too hard—this step is about opening the structure and creating airflow between branches for a realistic silhouette.
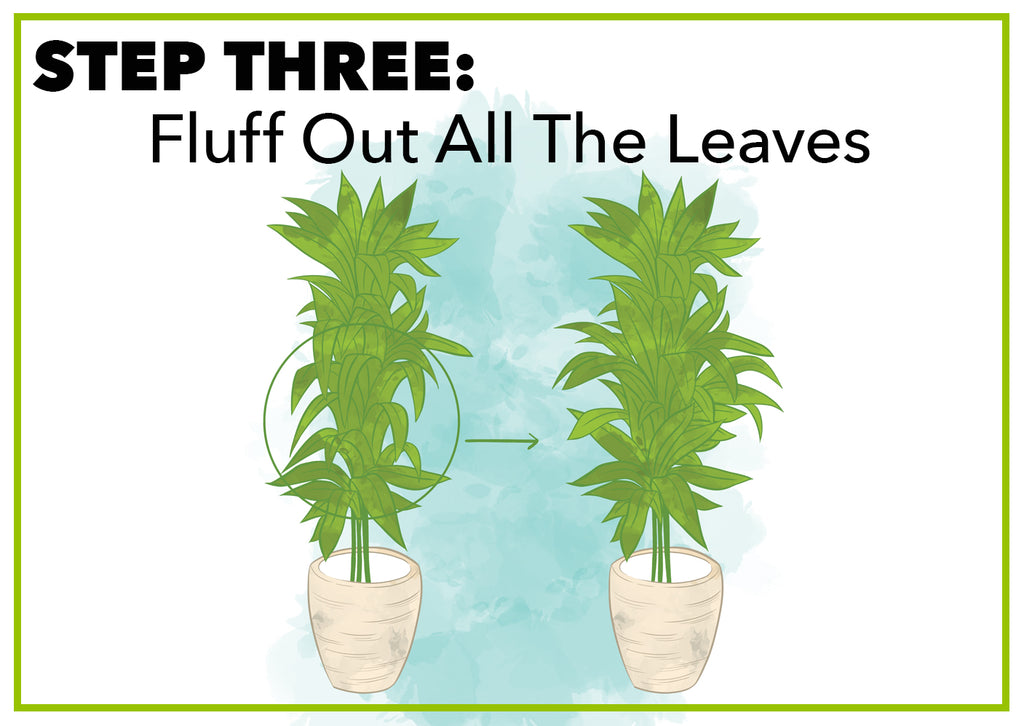

Step 3: Fluff & Shape the Leaves
Once branches are positioned, move on to the leaves. Gently bend each leaf outward, alternating directions to avoid symmetry. Slight curves and imperfections are what make artificial plants look real.
A simple rule: nothing should point straight up or lie completely flat.
Step 4: Continue Styling from Base to Top
Rotate the plant as you work, shaping it from every side. Focus on creating depth and variation—real plants aren’t perfect, and neither should yours be.
If something looks uneven, adjust it until the plant feels balanced and organic.
Step 5: Secure the Base for a Finished Look
Place the starter pot inside a decorative planter that complements your space. Fill the gap with moss, pebbles, gravel, or floral foam to keep the plant stable and visually polished.
This step is especially important for taller faux trees or topiary designs used in entryways or open spaces.
Step 6: Place, Step Back & Admire
Position your plant in its final spot and step back. Check it from different angles and lighting conditions, making small adjustments until it looks full, natural, and effortless.
Artificial plants often look best near natural light—even if they don’t need it.
Florona Styling Tips ✨
-
Choose planters that match your interior style
-
Use decorative moss or stones to hide starter pots
-
Rotate and re-fluff seasonally for a refreshed look
-
Opt for UV-protected faux plants for outdoor use
-
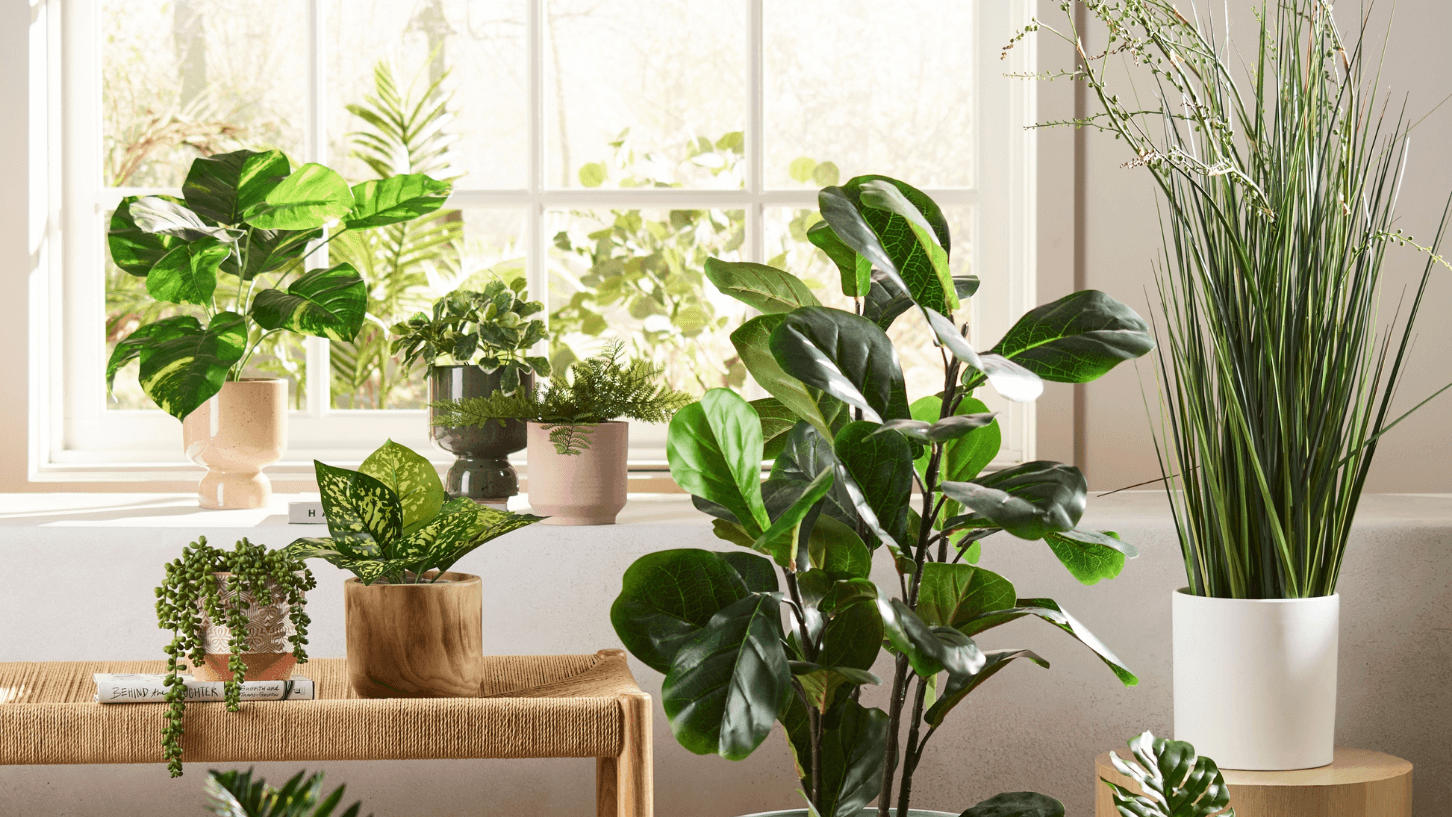
Reference product images for ideal shaping inspiration
Quick Guide: How to Plant Artificial Topiary Trees in Pots
-
Unpack and stand upright
-
Place starter pot into a larger decorative planter
-
Secure with filler material
-
Bend branches outward
-
Fluff and shape leaves
-
Add moss or pebbles to the base
-
Display and fine-tune


